
THE ART OF RIVER TABLES
What is a River Table?
A river table is a special piece of furniture made from 2 or more live-edge slabs, with Epoxy resin or glass in the middle. This sleek modern design effortlessly captures the essence of water gently flowing along a tranquil river, adding a touch of serene elegance to any space.

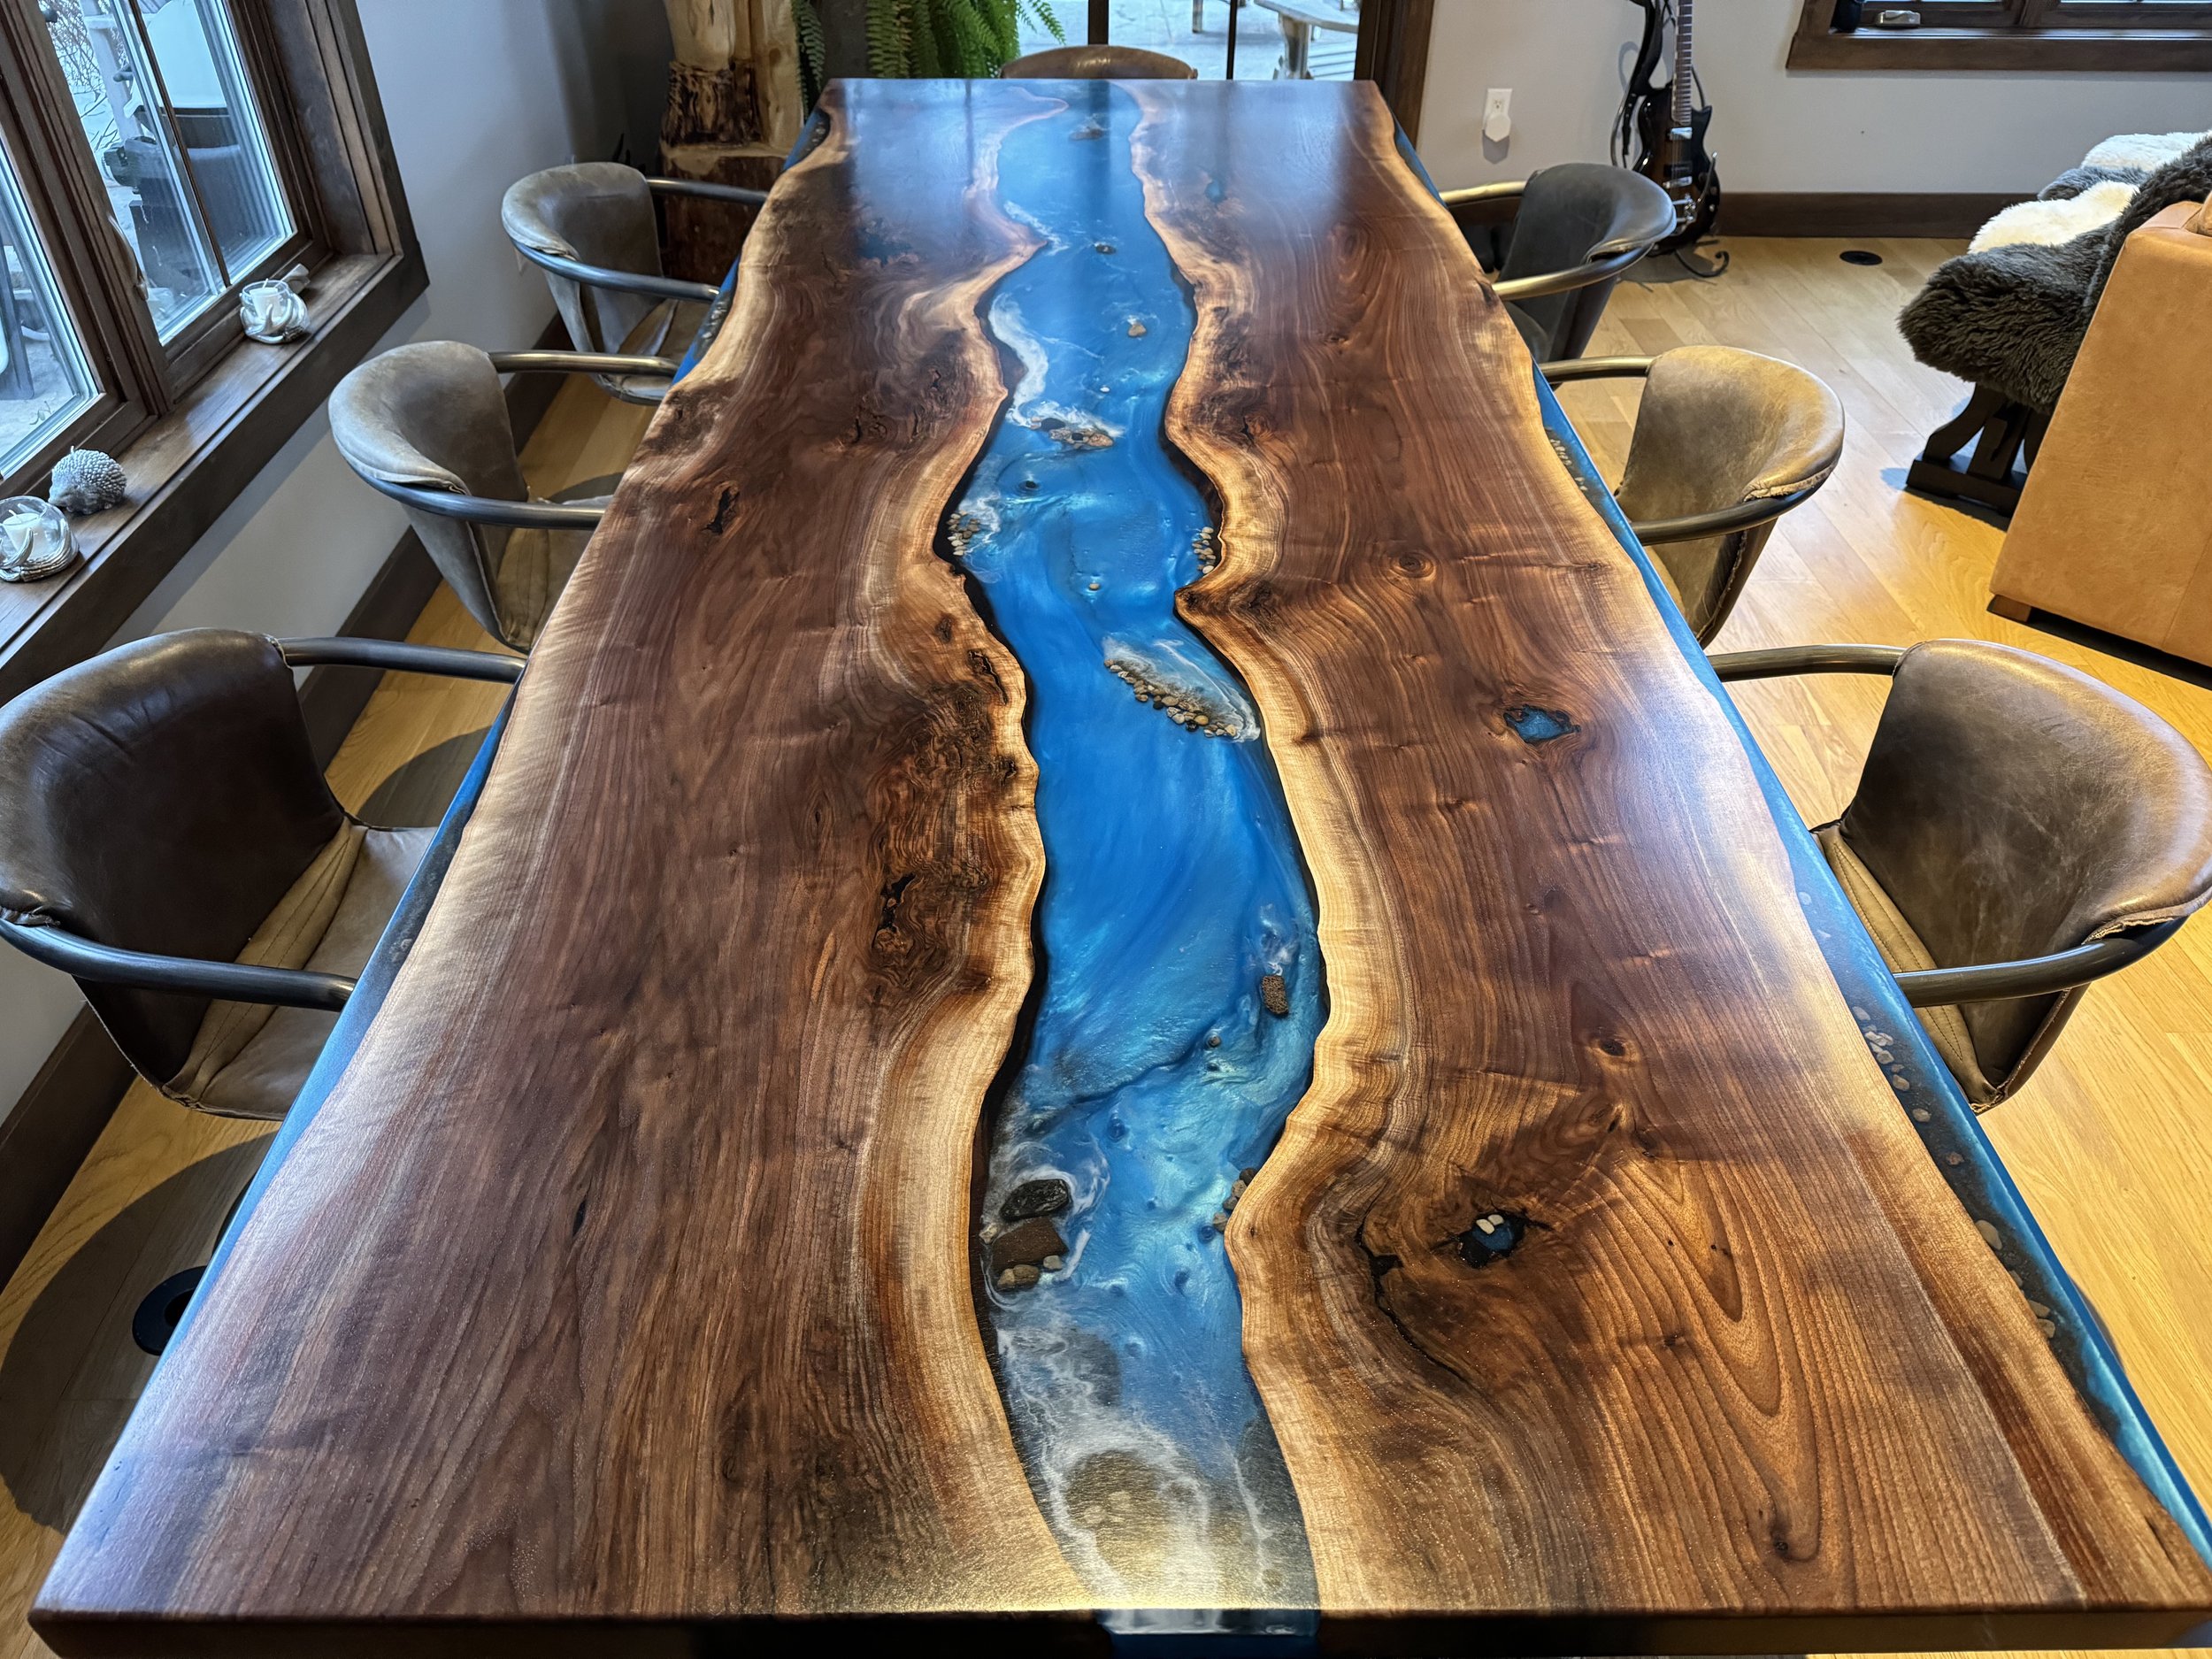
These tables have soared in popularity over the past decade due to their customizable nature, allowing innumerable designs by incorporating distinctive raw wood pieces and a wide array of epoxy colours. Our skilled craftsmen create these custom tables by incorporating various elements like rocks, sand, ocean-like waves, personal mementos, and more, resulting in truly mesmerizing pieces.
Crafting river tables entails a methodical, time-consuming process requiring creativity and skill. Each step contributes to creating a unique, exquisite final product.


How to make an Epoxy River Table?
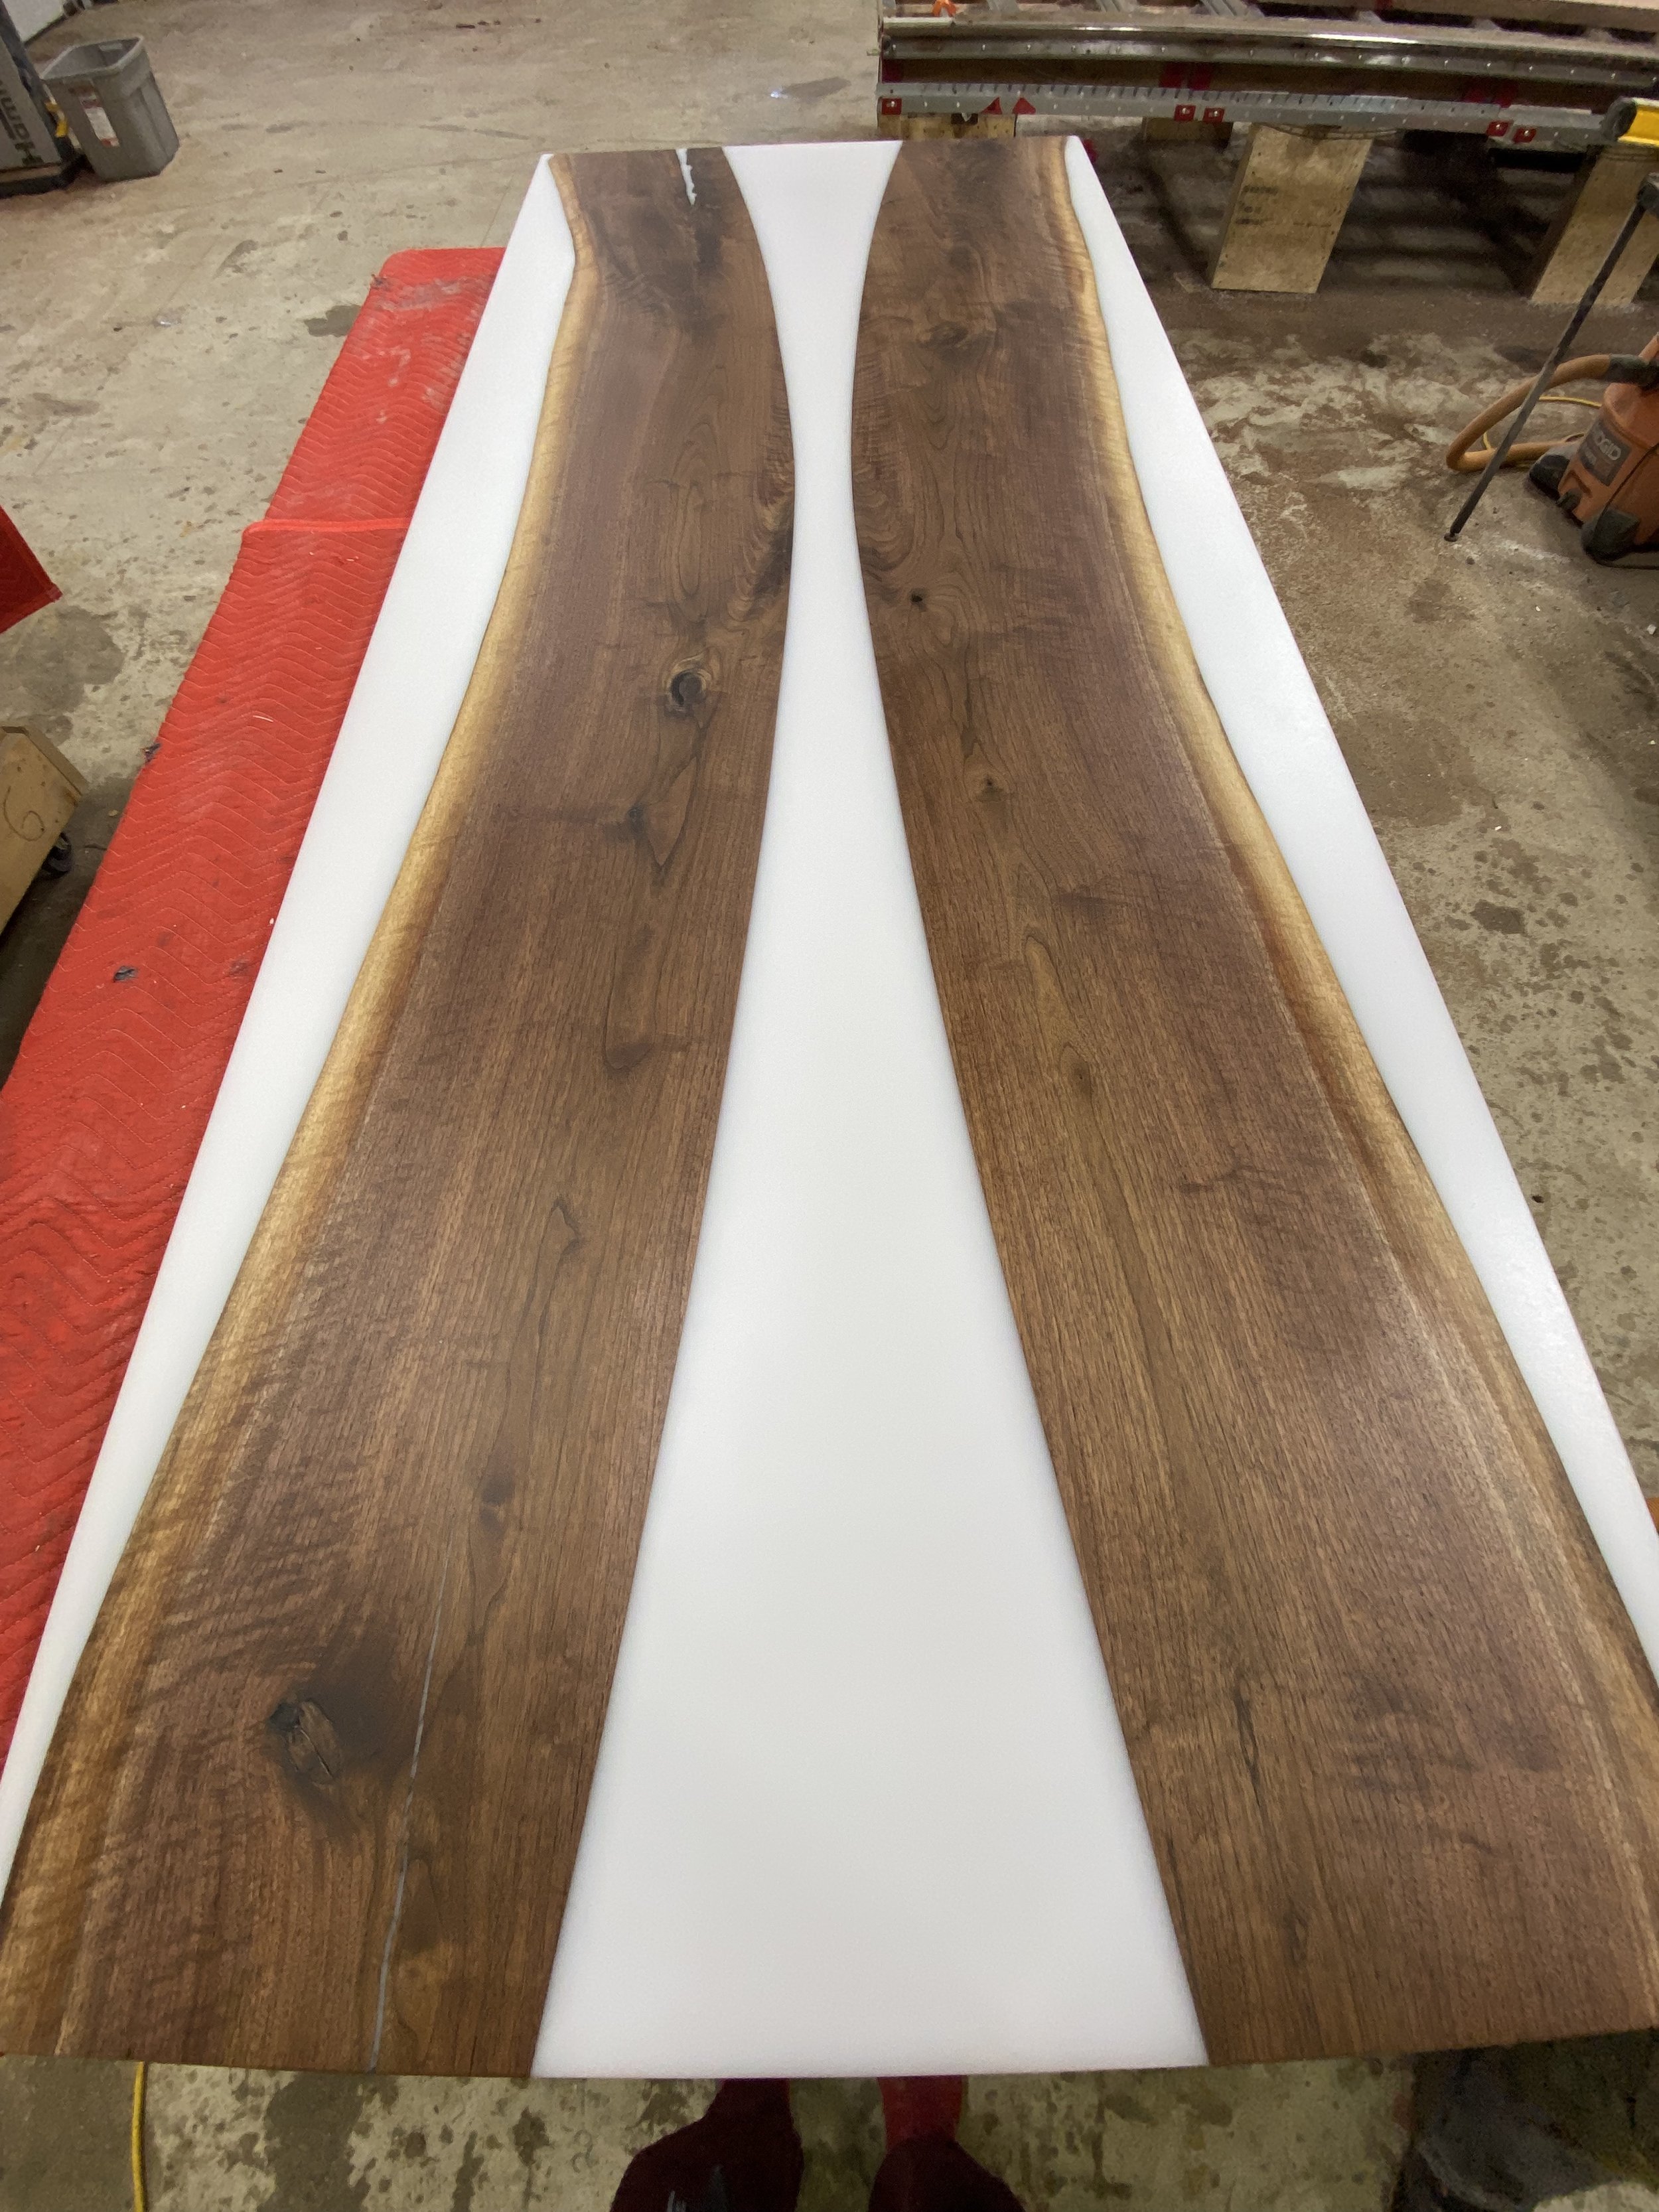
Select the wood and create your vision - In the process of crafting a River Table, one of the most enjoyable steps is selecting the ideal wood that will beautifully embrace the river within. While Walnut remains a popular choice, the exquisite allure of Mappa Burl or the unique charm of Wormy Maple are often favored selections that impart character to the final creation. Embrace this creative journey by carefully choosing the wood that resonates with your vision.

2. Create the mold - After selecting your pieces of wood, the next step involves creating a mold from High-Density Polyethylene (HDPE) plastic to provide a stable base for the slabs. HDPE, known for its ecological benefits through reusability, enables the epoxy to detach effortlessly from the mold after each utilization, extending its lifespan for multiple uses. Typically, we fasten this mold securely with screws and apply a silicone barrier along the seams to avert any potential leaks.

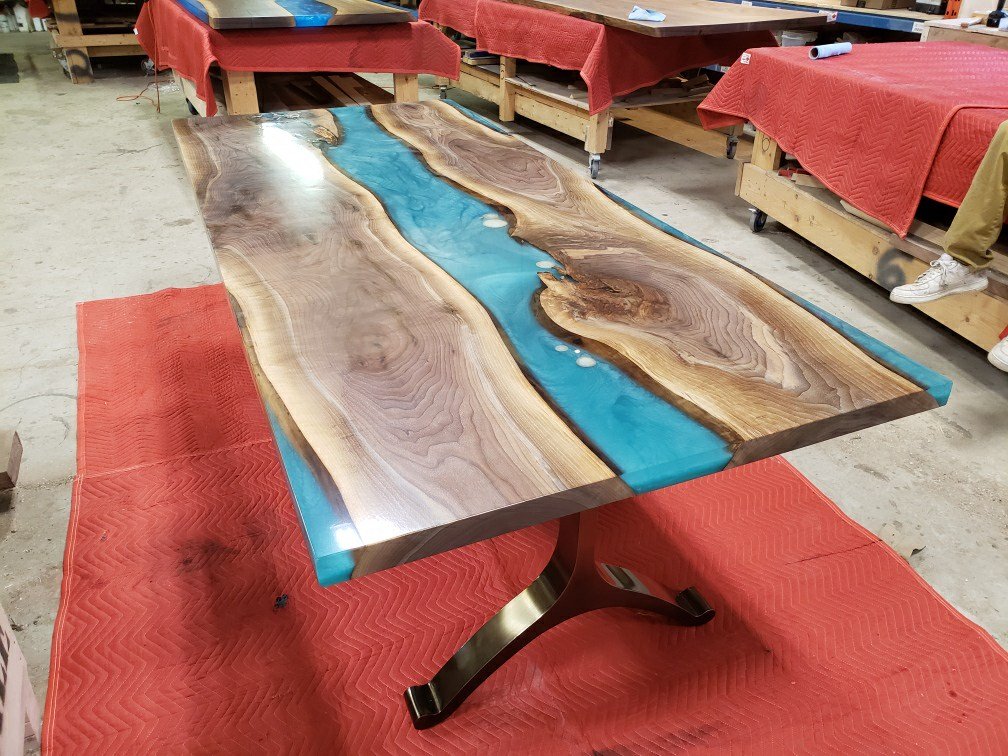
3. Mix the Epoxy - During this important stage, experienced skill really stands out. River tables need “thick epoxy” among many types and brands available. The process involves blending two distinct resins (Part A and Part B) at a typical 2:1 ratio. The resin can be mixed with pigments to create various colours. However, achieving a crystal-clear resin effect hinges on the crucial task of degassing the epoxy. Failure to remove air bubbles completely may lead to tiny bubbles affecting the final appearance, reducing its quality.
4. Pouring the Epoxy - Once the epoxy mixture is fully prepared and ready for application, it can be poured into the designated mold. This is the time where rocks, sand, epoxy effects or mementos can be added into the table. It is particularly important to choose high-quality epoxy brands, as they tend to have a smoother pouring consistency. When pouring the epoxy, any larger bubbles that appear can be easily eliminated by gently applying a blow torch over the surface. Ensuring the optimal temperature during this process is essential to prevent cracking. To monitor the temperature effectively, a temperature gauge is typically utilized. The ideal temperature for the epoxy should be consistent with room temperature. To maintain this temperature, multiple fans can be strategically positioned around the mold to regulate the heat distribution. Throughout this procedure, additional bubbles may surface, and it is crucial to promptly address them by utilizing the blow torch method for a flawless finish. Fans can be turned off after 2 days when the consistency of the epoxy looks like a thick gel. The entire curing process will normally be complete in about a week, ensuring a strong and durable final result.

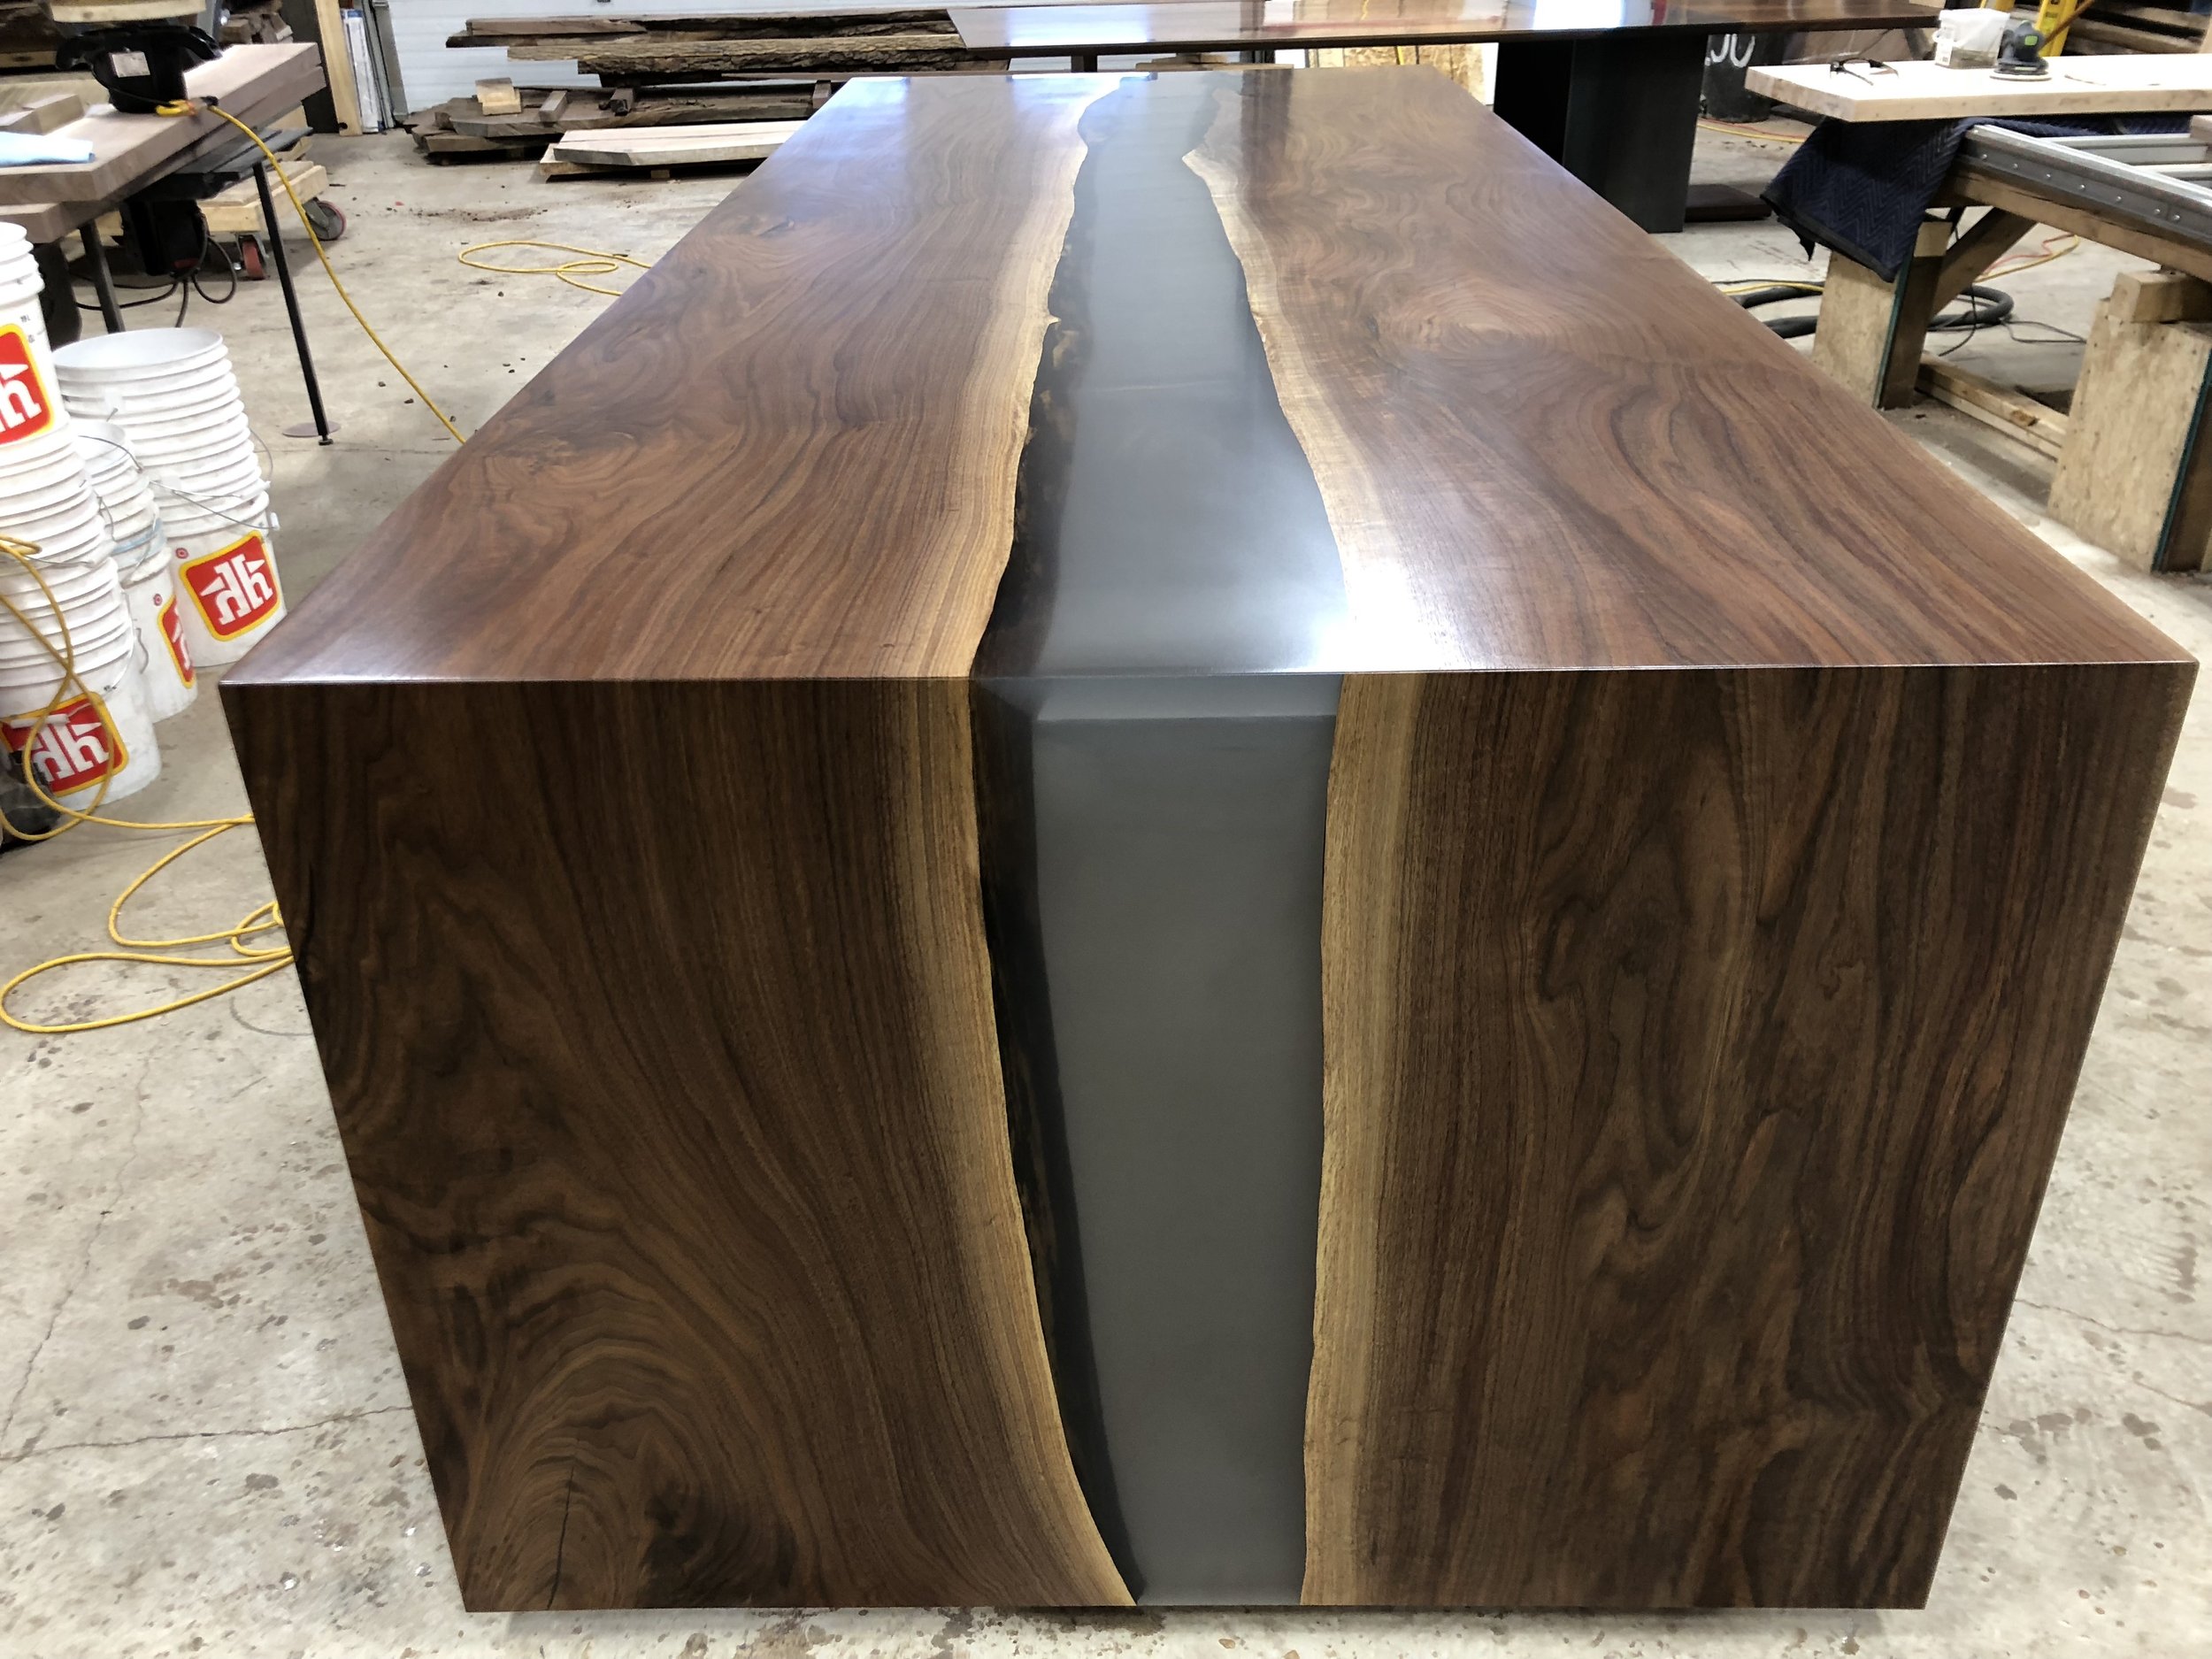
5. Take out of the mold and sanding - If HDPE is utilized for the mold, the table will easily release from it. The most challenging aspect will arise when lifting the new table due to its significantly increased weight. At this point, you can determine the ultimate length of the table by trimming both ends. Final sanding is necessary to level the table surface. Planers or CNC machines are often used for sanding large tables. It is essential to note that this initial sanding is rough, and additional sanding will be necessary during the finishing stages.
6. Finishing process - During this crucial final step in crafting a table top, meticulous sanding is paramount. The table undergoes a series of sanding rounds with varying grits of sandpaper to ensure a smooth surface. Post-sanding, several wood finishing products are meticulously applied to enhance the aesthetic appeal and safeguard the table. At LuxEdge Furniture Co., we prefer utilizing premium natural finishes like Osmo Oil and Rubio Monocoat for a durable and radiant finish.
Other Considerations:
a) When creating a large tabletop, the underside of the tables should be reinforced with C Channel Support Rails to keep the table straight and flat during its lifetime while still allowing for wood's natural movement. All this reinforcement guarantees the table will never be unstable, shaky or frail.
b) Selecting the appropriate table base is a crucial step in the furniture assembly process, requiring additional effort to securely fasten it to the tabletop.
c) Lastly, once you have perfected this skill, you will gain the ability to craft a wide range of stunning pieces filled with the captivating River Table effect, enjoying the beauty of this elegant design trend.